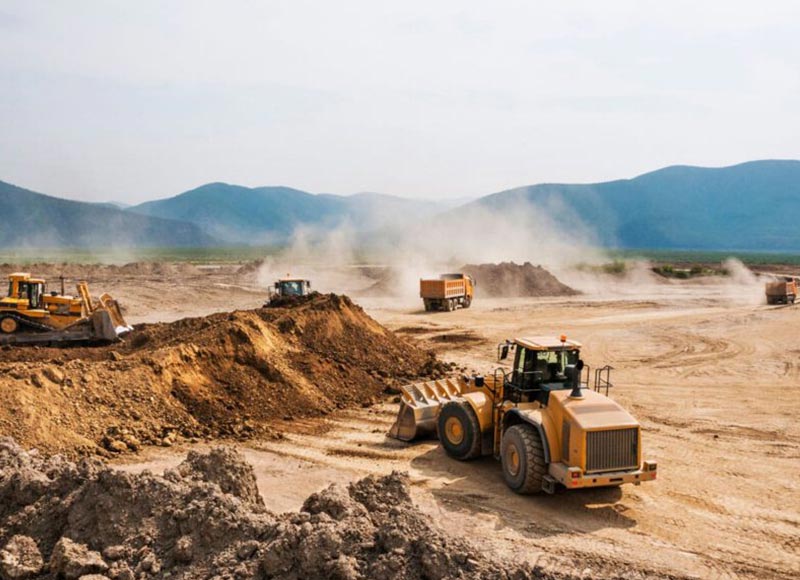
Soil stabilization site preparation determines whether a stabilization project begins with useful engineering information or with avoidable uncertainty. Before any stabilizing material is introduced, the project team needs to understand the existing soil, drainage, moisture condition, road geometry, weak zones, construction access, and the performance target of the treated layer. Skipping these checks can make a technically suitable stabilizer appear inconsistent simply because different sections of the site were never comparable.
For mine roads, industrial roads, access routes, subgrades, and base or sub-base improvement projects, good preparation is not only a construction task. It is also a procurement task. Buyers need enough site data to request a technically meaningful proposal, while contractors need clear limits for scarification, mixing, moisture adjustment, compaction, and trial work. This guide explains how to structure soil stabilization site preparation so that product selection, field trials, and later acceptance are based on representative conditions rather than assumptions.
Table of Contents
Why Soil Stabilization Site Preparation Comes Before Product Application
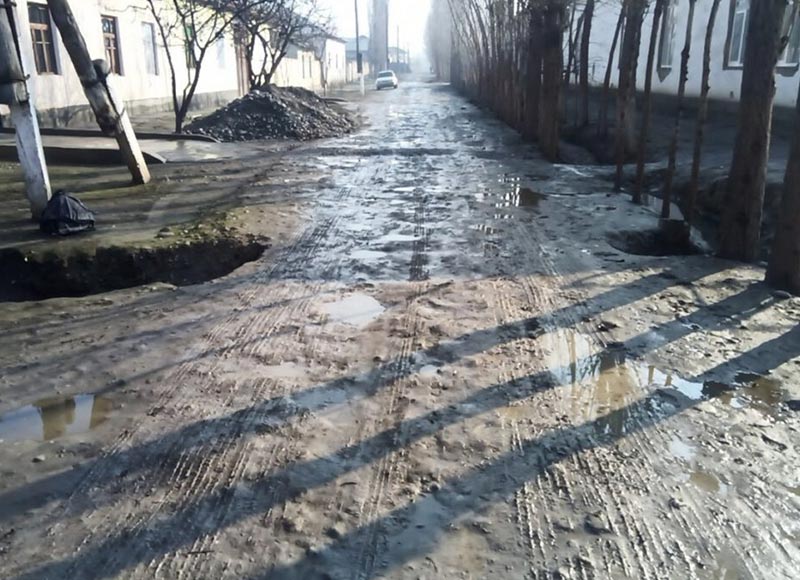
The purpose of stabilization is to improve the engineering behavior of existing material so it can perform more reliably as part of a road or working platform. However, different soils respond differently to mechanical and chemical treatment. Particle-size distribution, clay content, plasticity, organic matter, soluble salts, moisture condition, and existing compaction can all influence the result.
For that reason, soil stabilization site preparation should begin with project investigation rather than product dosage. Guidance from the University of California Pavement Research Center on subgrade stabilization places project investigation before stabilization design and construction considerations. Caltrans construction guidance likewise requires samples and initial testing before stabilization work starts.
This sequence matters commercially as well. Good soil stabilization site preparation also gives buyers a clearer basis for comparing technical proposals. A supplier cannot responsibly recommend one treatment approach for an entire site if the site contains several different soil types or if the design objective has not been defined. Preparation creates the information needed to decide whether stabilization is appropriate and how a field trial should be structured.
Define the Treatment Objective Before Preparing the Ground
One of the first steps in soil stabilization site preparation is defining what the project expects the treated soil to do. “Make the road stronger” is too vague for engineering or procurement.
The actual objective may be to improve a weak subgrade, create a more stable working platform, reduce moisture sensitivity, improve a local road layer, support a base or sub-base, reuse suitable on-site material, or reduce deformation under traffic. Each objective can lead to different testing, treatment depth, compaction requirements, and acceptance criteria.
Before field work begins, record the intended layer, expected traffic or loading, required service condition, drainage exposure, and the design or project specification that will be used for acceptance. If no formal pavement design exists, the responsible engineer should still define measurable targets rather than relying only on appearance after treatment.
Survey the Site and Divide It Into Comparable Zones
A long road or industrial yard rarely has perfectly uniform conditions. The first field activity in soil stabilization site preparation should therefore be a systematic site walk and sectioning exercise.
Identify changes in soil color and texture, previous repairs, imported fill, soft spots, standing water, steep grades, transitions between cut and fill, vehicle turning areas, drainage crossings, and sections that have been repeatedly reworked. Marking these zones helps determine where separate samples or trial sections are needed.
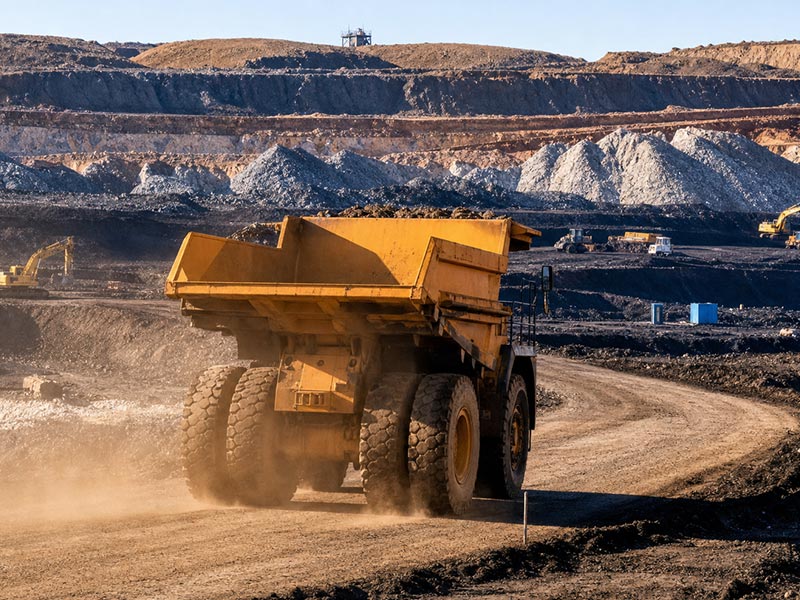
For mine and industrial roads, operating conditions should also be mapped. Loading approaches, intersections, parking or queue areas, and heavily trafficked wheel paths may behave differently from lightly trafficked road sections even when the underlying soil is similar.
A useful soil stabilization site preparation plan treats these differences as project inputs instead of averaging them into one description.
Take Representative Soil Samples Before Selecting a Treatment
Representative sampling is central to soil stabilization site preparation. A sample taken from an easy-to-reach shoulder may not represent the material under the wheel path, and one sample cannot reliably characterize several kilometers of changing road material.
What should be recorded with each sample?
Record the sampling location, approximate depth, visual soil description, moisture condition, layer being sampled, and any evidence of contamination, previous treatment, aggregate addition, or unusual material. If the planned treatment depth spans more than one existing layer, determine whether the samples should be tested separately or as a representative blend.
Which soil properties can matter?
Depending on the project, laboratory characterization can include gradation, plasticity, moisture-density relationships, strength or bearing indicators, and other tests required by the engineer or specification. The National Academies’ recommended practice for stabilization emphasizes soil classification, soil exploration, stabilizer selection, and validation rather than treating stabilization as a product-only decision.
Do not assume that every test is required for every project. The testing program should be proportional to the road function, risk, design standard, and type of stabilization being considered.
Check Drainage Before Stabilizing the Soil
Drainage is one of the most important parts of soil stabilization site preparation because excessive water can undermine both untreated and treated road layers. A stabilized layer should not be expected to compensate for a site that continually traps or directs water into the road structure.
Inspect the crown or crossfall, shoulders, ditches, culverts, outlets, low points, seepage areas, and locations where runoff crosses the road. Look for ponding, erosion, pumping, saturated wheel paths, or soft shoulders. These observations help identify whether drainage repair should occur before stabilization. In practical terms, soil stabilization site preparation should separate drainage correction from stabilization work so each can be evaluated clearly.
Where the road is constructed on a weak or wet subgrade, the project team should also determine whether the source of moisture is surface runoff, groundwater, leakage, poor crossfall, blocked drainage, or another condition. Treating the symptoms without addressing the source can make later performance difficult to interpret.
Remove Unsuitable Material and Clear the Treatment Area
Practical soil stabilization site preparation requires a clean, defined treatment layer. Vegetation, roots, organic topsoil, large debris, oversized material, and localized unsuitable pockets may interfere with uniform mixing and compaction.
Caltrans construction guidance for stabilized soils includes observing preparation of the material to make sure it is scarified and broken up to the required width and depth, and it provides for removal of oversized material where necessary. The exact requirements depend on the project specification and stabilizer, but the underlying principle is broadly useful: the material being treated should be identifiable and workable.
Do not automatically remove every large particle or every piece of existing aggregate. The responsible engineer or construction specification should define acceptable material and maximum particle size. The objective is not to produce visually perfect soil; it is to prepare a consistent layer that can be treated and compacted as designed. This consistency is one of the main goals of soil stabilization site preparation.
Establish the Required Treatment Depth
Treatment depth is another decision that must be made during soil stabilization site preparation, not improvised while the equipment is moving.
The required depth depends on the design objective, existing soil profile, expected loads, stabilization mechanism, and project specification. A shallow working-platform improvement is different from stabilizing a defined subgrade or base layer. If weak material extends deeper than the planned treatment depth, the project team needs to determine whether stabilization, undercutting, replacement, drainage improvement, geosynthetics, or another engineering measure is appropriate.
Once the design depth is established, the contractor needs equipment capable of consistently processing that depth. Trial work should confirm that scarification or mixing reaches the intended layer and that untreated lenses are not left within the stabilized section.
Control Moisture Before Mixing and Compaction
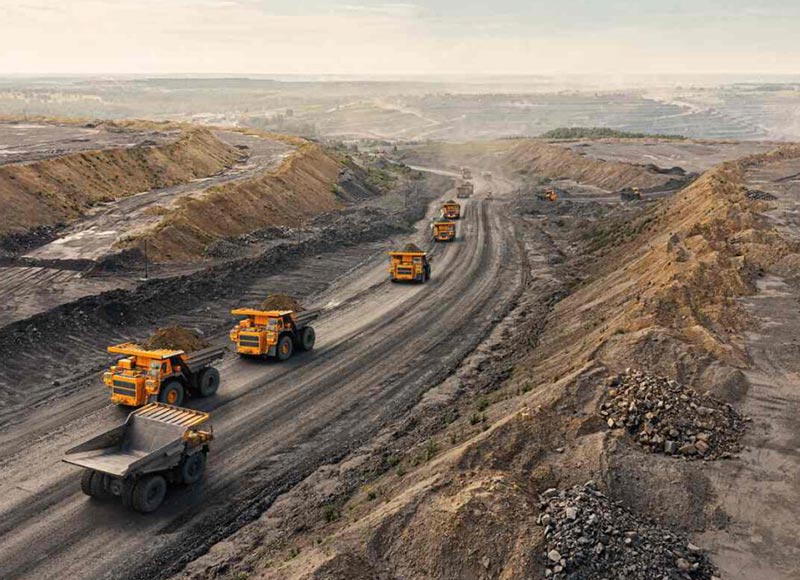
Moisture control is often one of the most influential variables in soil stabilization site preparation. Soil that is extremely dry may not mix uniformly, while excessively wet material may be difficult to pulverize or compact.
The target moisture condition should be based on the actual soil, stabilizer system, compaction method, and specification. Caltrans guidance for stabilized soils requires initial testing to establish relevant moisture and treatment information before work, then verifies mixing, compaction, and curing during construction.
For a proprietary stabilizer, the correct moisture window must come from project testing and current technical guidance. Generic moisture values from another stabilizer should not be copied into the method statement.
| Preparation item | What to check | Why it matters |
|---|---|---|
| Soil condition | Gradation, plasticity, variability and visible contamination | Helps determine whether one treatment design can represent the site. |
| Drainage | Crossfall, ditches, culverts, ponding and seepage | Persistent water can weaken road layers and confuse performance evaluation. |
| Treatment depth | Design layer and equipment capability | Prevents shallow or inconsistent processing. |
| Moisture | Existing condition and project-specific target range | Influences mixing, reaction and compaction. |
| Oversized or unsuitable material | Debris, organics and material outside specification | Improves uniformity of the treatment layer. |
| Trial section | Representative soil, equipment, traffic and acceptance tests | Validates the proposed process before full-scale work. |
Prepare Equipment and Construction Access
Soil stabilization site preparation is also an equipment-planning exercise. The project team needs to confirm that graders, scarifiers, mixers, water equipment, spreaders or dosing systems, compactors, and survey tools are appropriate for the planned process.
Equipment selection should reflect the required treatment width and depth, site access, production sequence, and soil condition. A method that works in an open road section may be difficult in a narrow industrial corridor or near operating plant equipment.
Before the trial, define how untreated and treated traffic will be separated, where equipment will turn, where product and water will be staged, and how the crew will prevent material from being tracked into adjacent areas. These details can affect both construction quality and site safety. They also determine whether soil stabilization site preparation can move smoothly from trial work to repeatable full-scale construction.
Use a Trial Section Before Full-Scale Stabilization
A representative trial section is one of the most valuable parts of soil stabilization site preparation. It verifies whether the proposed material, application procedure, mixing method, moisture control, compaction equipment, and construction sequence can work together under actual site conditions.
The trial should not be placed only in the easiest part of the site. Select a section that represents the soil and operating conditions that will be treated at full scale. If the project has distinctly different soil zones, more than one trial may be necessary.
Caltrans specifically provides for a test strip where required to demonstrate that equipment and methods can distribute the stabilizer uniformly and achieve specified compaction. That is a useful model for proprietary stabilization projects even when the governing specification is different.
What should the trial record?
Document the exact treatment area, soil source, preparation method, existing moisture, product batch, actual amount used, dilution if applicable, mixing depth, number and type of mixing passes, compaction equipment, weather, curing or waiting period, and test results.
The trial should answer a practical question: can the proposed process repeatedly produce a layer that meets the project’s acceptance requirements?
Set Acceptance Criteria Before the Trial Begins
Another common weakness in soil stabilization site preparation is running a trial without defining what success means. A visually hard surface is not a complete acceptance criterion.
Acceptance may involve density, moisture, thickness, strength, bearing capacity, dimensional tolerances, surface condition, or another project-specific measure. The correct criteria depend on the layer and design. Testing methods, specimen preparation, curing conditions, sampling frequency, and test ages should also be defined where applicable.
This is particularly important when comparing stabilized-soil strength data. A result without information about soil type, stabilizer content, specimen preparation, curing period, moisture exposure, and test method is difficult to compare with another project.
The current SST Soil Stabilization Technology page publishes several performance indicators. For procurement and project approval, those values should be reviewed together with the applicable test conditions and current technical documentation rather than transferred automatically into a new project specification.
How to Prepare a Site for an SST Evaluation
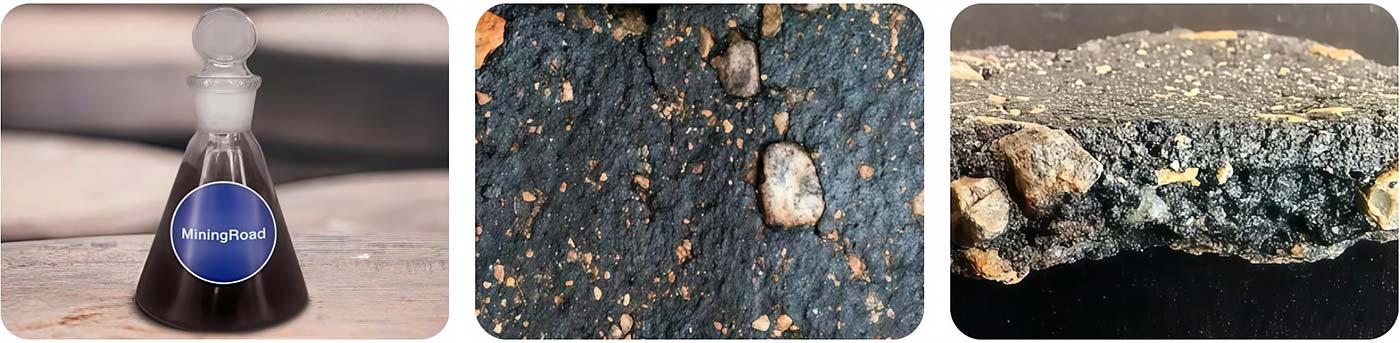
When considering SST, soil stabilization site preparation should start by defining the actual layer and supplying representative project material for assessment. DustFreeRoad currently presents SST for soil stabilization and road base or subgrade-related applications, but suitability still needs to be confirmed for the specific soil and engineering objective.
Provide representative soil samples or laboratory results, the proposed treatment depth, road or yard use, drainage condition, expected traffic, climatic exposure, existing defects, and required acceptance standard. If the site has several soil types, separate them rather than assuming one sample represents the entire project.
This information allows the treatment discussion to focus on compatibility and testing instead of generic application claims. It also helps distinguish SST-type soil improvement from the company’s ER liquid road treatment and GR road dust suppressant, which address different road-treatment objectives.
Create a Pre-Construction Documentation Package
Good soil stabilization site preparation should produce a concise set of documents that the buyer, supplier, contractor, and project engineer can all reference.
The package can include the site plan, treatment-zone map, soil investigation data, sampling record, proposed layer depth, drainage observations, product technical data, safety documentation where required, trial method statement, quality-control checklist, acceptance criteria, and responsibilities for testing and approval.
This is especially useful for international procurement, where the stabilizer supplier may not be physically present during every construction step. Clear documentation reduces the risk that a later performance issue is attributed to the product when the actual cause was a change in soil, moisture, equipment, treatment depth, or construction procedure.
| Document or input | Who uses it | Decision it supports |
|---|---|---|
| Representative soil data | Engineer and stabilizer supplier | Material compatibility and test design |
| Site and drainage map | Engineer and contractor | Sectioning, repairs and construction sequence |
| Treatment objective | Buyer, engineer and supplier | Selection of relevant tests and acceptance limits |
| Trial-section method | Contractor and quality team | Repeatable application and mixing procedure |
| Acceptance plan | Buyer and engineer | Go/no-go decision before scale-up |
| Construction records | All parties | Traceability if conditions or results change |
Common Soil Stabilization Site Preparation Mistakes
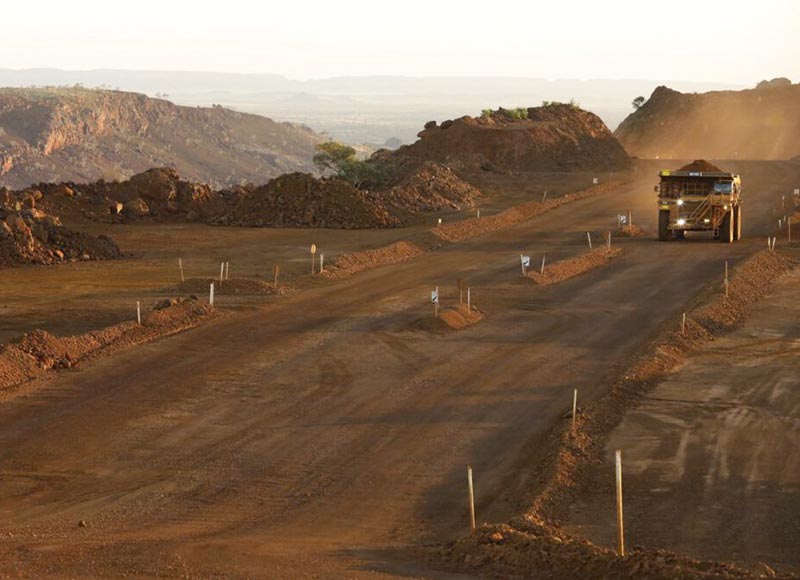
The first mistake is selecting a stabilizer before understanding the soil. Product selection without representative material data makes trial results less predictable.
The second is ignoring drainage. A stabilized layer cannot be expected to solve every problem caused by persistent saturation or uncontrolled runoff.
The third is treating an entire road as one uniform section. Changes in fill material, moisture, traffic, or previous repairs may require separate sampling and treatment verification.
The fourth is copying a dosage, mixing depth, strength value, or curing period from another project. Soil stabilization site preparation should establish values for the actual soil, product, specification, and construction conditions.
The fifth is starting a trial without acceptance criteria. Without a predefined basis for evaluation, the project can end up relying on appearance or subjective impressions instead of engineering evidence.
Conclusion
Soil stabilization site preparation is the stage where a project converts a general stabilization idea into a testable construction plan. The essential work is not complicated in concept: define the treatment objective, divide the site into representative zones, characterize the soil, correct drainage problems, establish treatment depth, manage moisture, prepare equipment, build a representative trial section, and agree on acceptance criteria before scale-up.
For SST or any other stabilization system, the safest procurement approach is to provide real site and soil information and request a project-specific evaluation. This makes laboratory work and field trials more meaningful and gives the project team a traceable basis for approving—or rejecting—the proposed treatment. In that sense, soil stabilization site preparation is the quality-control foundation for the entire stabilization program.
If you are preparing a mine road, industrial road, road base, subgrade, or working platform project, send representative soil information, treatment objectives, site conditions, and available test data through the DustFreeRoad contact page so the next step can focus on material suitability and a practical trial plan.
FAQ About Soil Stabilization Site Preparation
What should be checked first during soil stabilization site preparation?
Start with the treatment objective, representative soil conditions, drainage, weak zones, and existing road structure. These factors determine what samples, tests, preparation work, and trial sections are needed before a stabilizer is selected.
Do all stabilization projects need laboratory soil testing?
The level of testing depends on project risk, design requirements, road function, and the stabilization method. Important road layers normally require enough characterization to support material selection and acceptance. The responsible engineer should define the necessary test program.
Why is drainage part of soil stabilization site preparation?
Poor drainage can saturate soil, reduce support, cause erosion, and create deformation. If drainage problems remain unresolved, it can be difficult to determine whether poor performance comes from the stabilizer, the soil, or continuing water exposure.
Should a field trial be completed before full-scale soil stabilization?
A representative trial is strongly advisable when the soil, product, construction method, or performance is not already validated under comparable conditions. It allows the project team to verify mixing, moisture, treatment depth, compaction, and acceptance testing before committing the full site.
What information should be sent to a soil stabilization supplier?
Provide representative soil or test data, treatment area and depth, road use, expected traffic or loading, drainage condition, climate, existing defects, construction equipment, treatment objective, and the required acceptance standard. These details support a more technically useful proposal and trial plan.
Technical References
For additional engineering context, review the Caltrans Construction Manual guidance on stabilized soils, the UCPRC Guidelines for the Stabilization of Subgrade Soils, the National Academies recommended practice for stabilization of subgrade soils and base materials, and the Caltrans pavement foundations resource center. These sources provide broader engineering guidance; the requirements of the actual project specification and the current technical documentation for the selected stabilizer should govern the work.